Welcome to the world of talking head videos. You've seen them all over social media. Now it's your turn to create them, and we’re going to show you how.
What are talking head videos?
Talking head videos are videos that feature a person speaking directly to the camera, typically with little to no visual aids. Talking heads are a common format on professional social media platforms like LinkedIn, where individuals leverage them to showcase expertise, establish thought leadership, share testimonials and connect with their professional networks.
Why share talking head videos on social?
Talking head videos are a great addition to your social media feed for a few reasons:
- Humanize the brand: People love seeing real faces on social media. Talking head videos provide an opportunity for companies to humanize their brand by putting a face and personality behind the corporate entity.This helps to build trust and rapport with customers and stakeholders.
- Engagement: Talking head videos offer a more personal and engaging way to connect with an audience compared to written content or static images.
- Education: Talking head videos are an effective tool for delivering educational content, tutorials, and explanations, as they allow the presenter to communicate directly with the viewer.
- Thought leadership: By sharing insights, opinions, and experiences, talking head videos can position individuals as thought leaders in their respective fields.
Overall, incorporating talking head videos into a company's marketing and branding strategy can contribute significantly to brand building efforts, fostering trust, loyalty, and engagement with customers and stakeholders.
How to add talking head clips to your videos with Storykit
Now you are ready to get started. Here’s how you can add talking heads to your videos seamlessly with Storykit.
Forget about transcribing issues, volume inconsistencies, text alignment headaches, and the hassle of adding B-roll. Here’s the secrets.
1. Capture your footage
You can do this in two ways:
1. Repurpose online interviews (webinars, podcasts, etc.): With this method, your footage is obviously already all recorded and ready to go. For example, you could use a podcast recording, webinar footage, etc.
2. Record yourself or another person talking: Other guides might tell you about finding a nice backdrop or using expensive equipment. If you’re into that, feel free to explore those options. But for this guide, just find some nice lighting, grab your phone, and capture a good quote or say something interesting. Forget the complications for now—you can dive into those (not necessarily essential) elements later.
2. Upload your chosen footage to Storykit for instant transcription
Once you upload your footage to Storykit, the AI will automatically transcribe and edit everything for you. This is a huge relief compared to the pains of traditional editing software. Even though the AI is often impressively accurate, you still have the option to read through your script and correct any misspelled words.
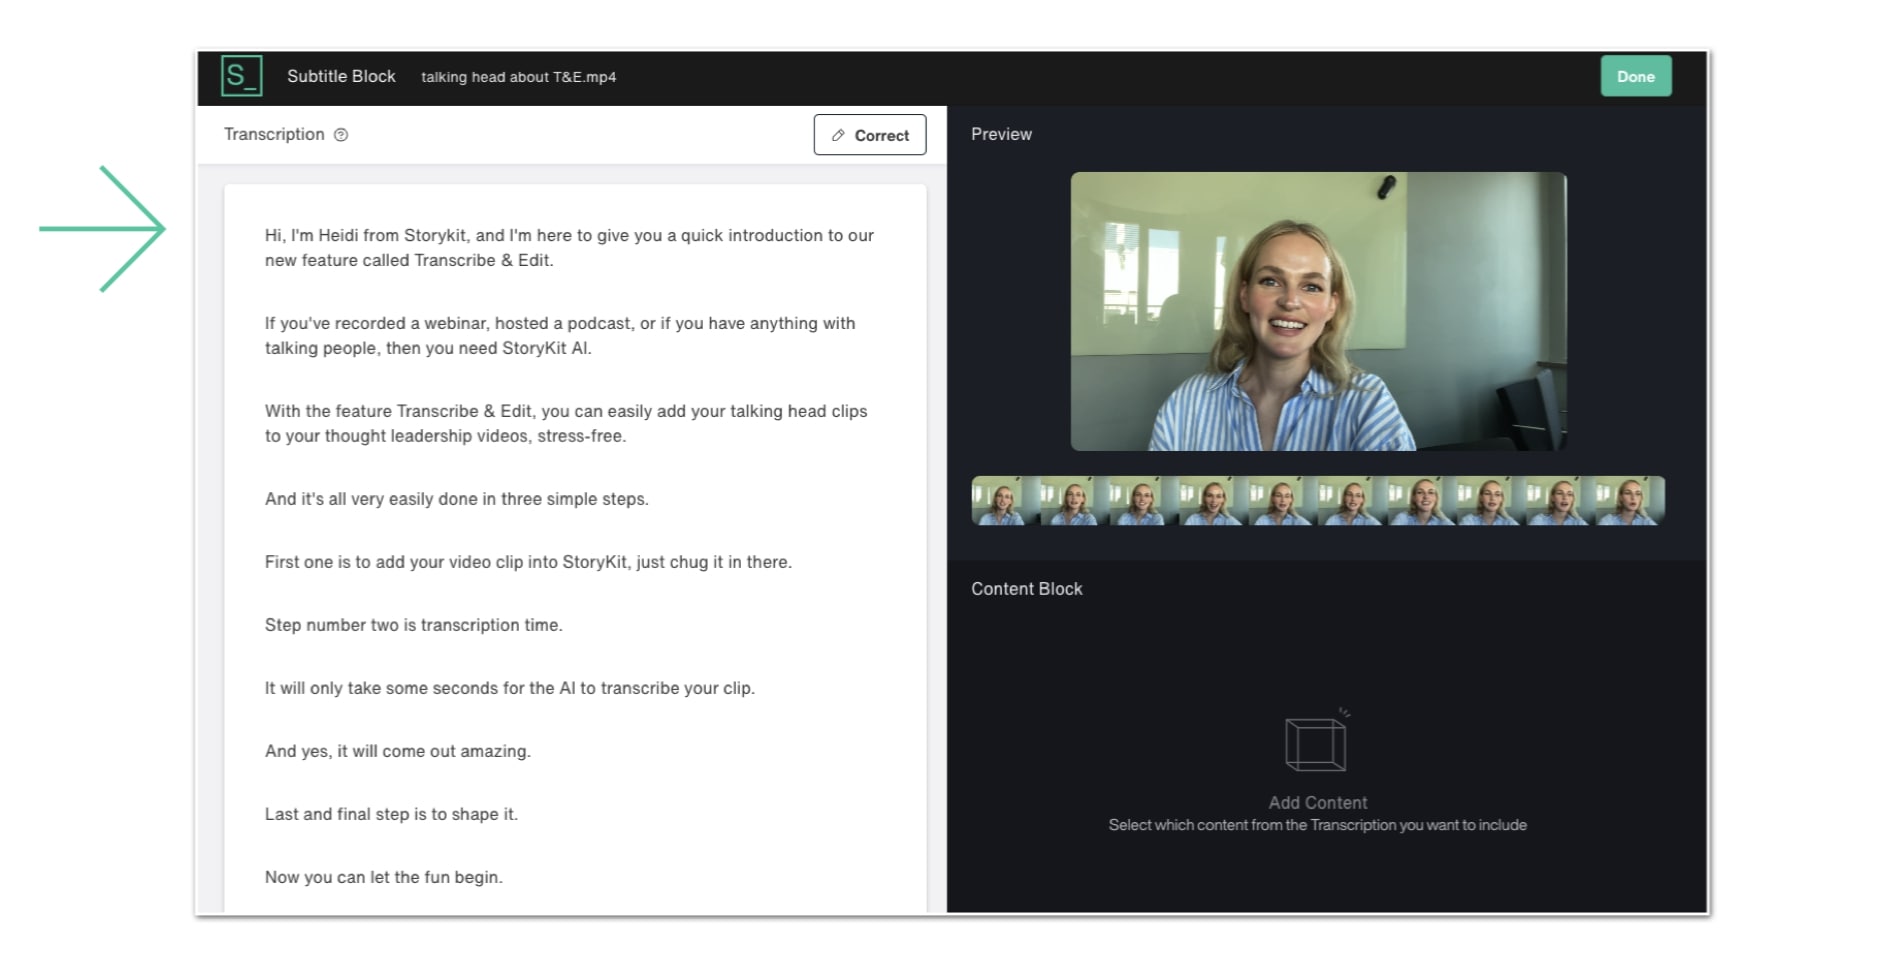
3. Choose which pieces of the clip you want to use
Here comes the real magic: you choose which parts of the text (or the words) you want to include and seamlessly stitch them together, allowing you to craft your narrative effortlessly. Just drag and drop.
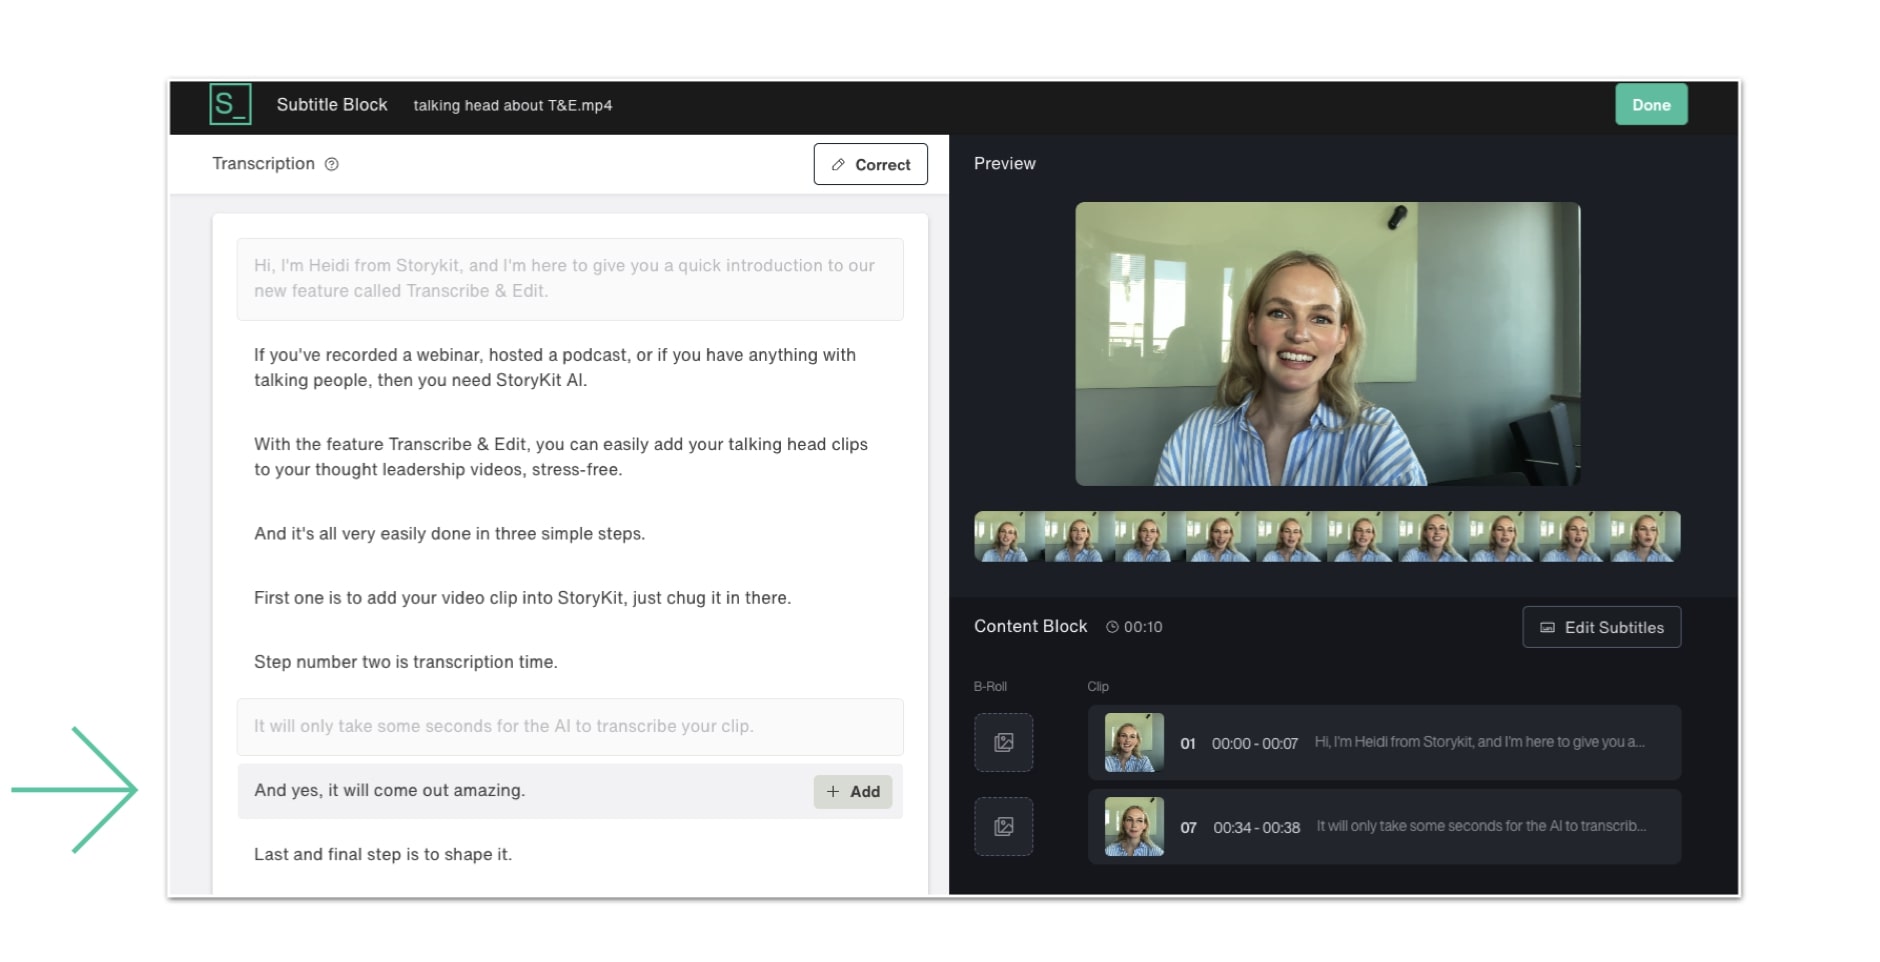
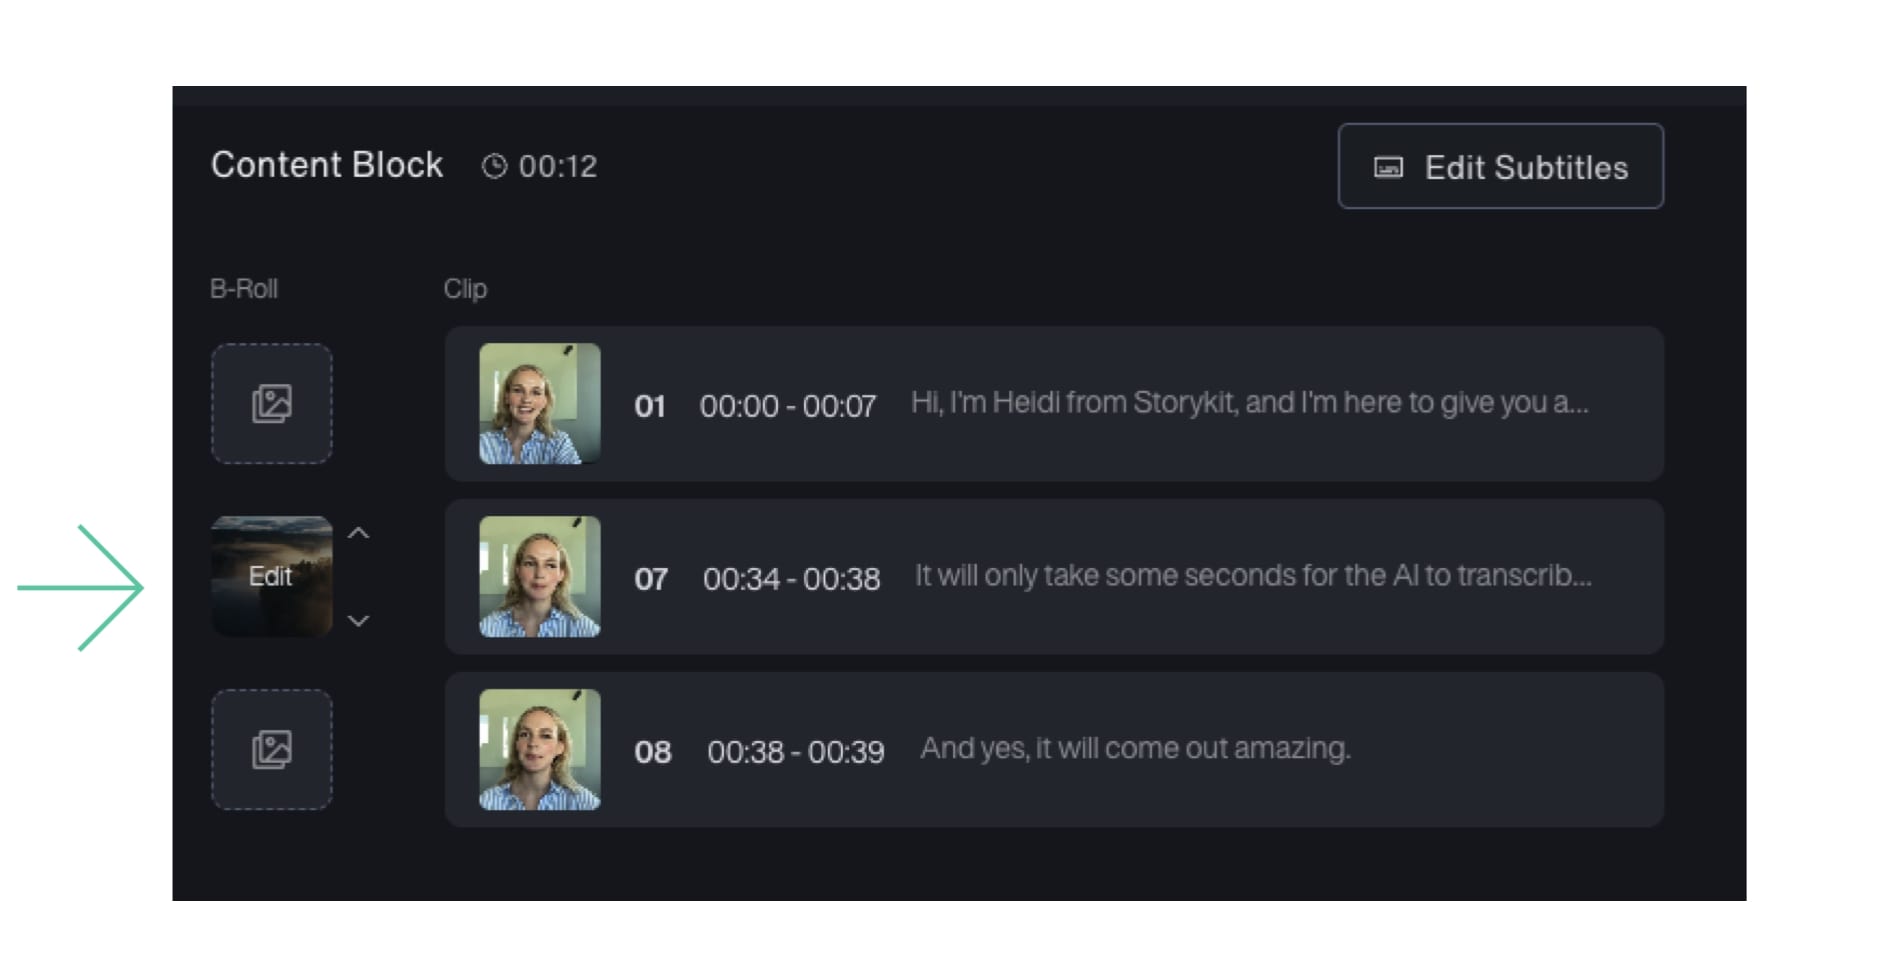
4. Add B-roll (If you want)
Ever heard of B-roll? That's the extra footage in videos that fills out the story, showing scenes and details that aren't the main footage of the person talking but help paint a fuller picture. If you want to add B-roll to your video, you can drop in clips at the places you want them to appear. For instance, while our Community Manager talks about about transcription feature, we can add a video of what she is talking about, adding depth and context to the discussion.
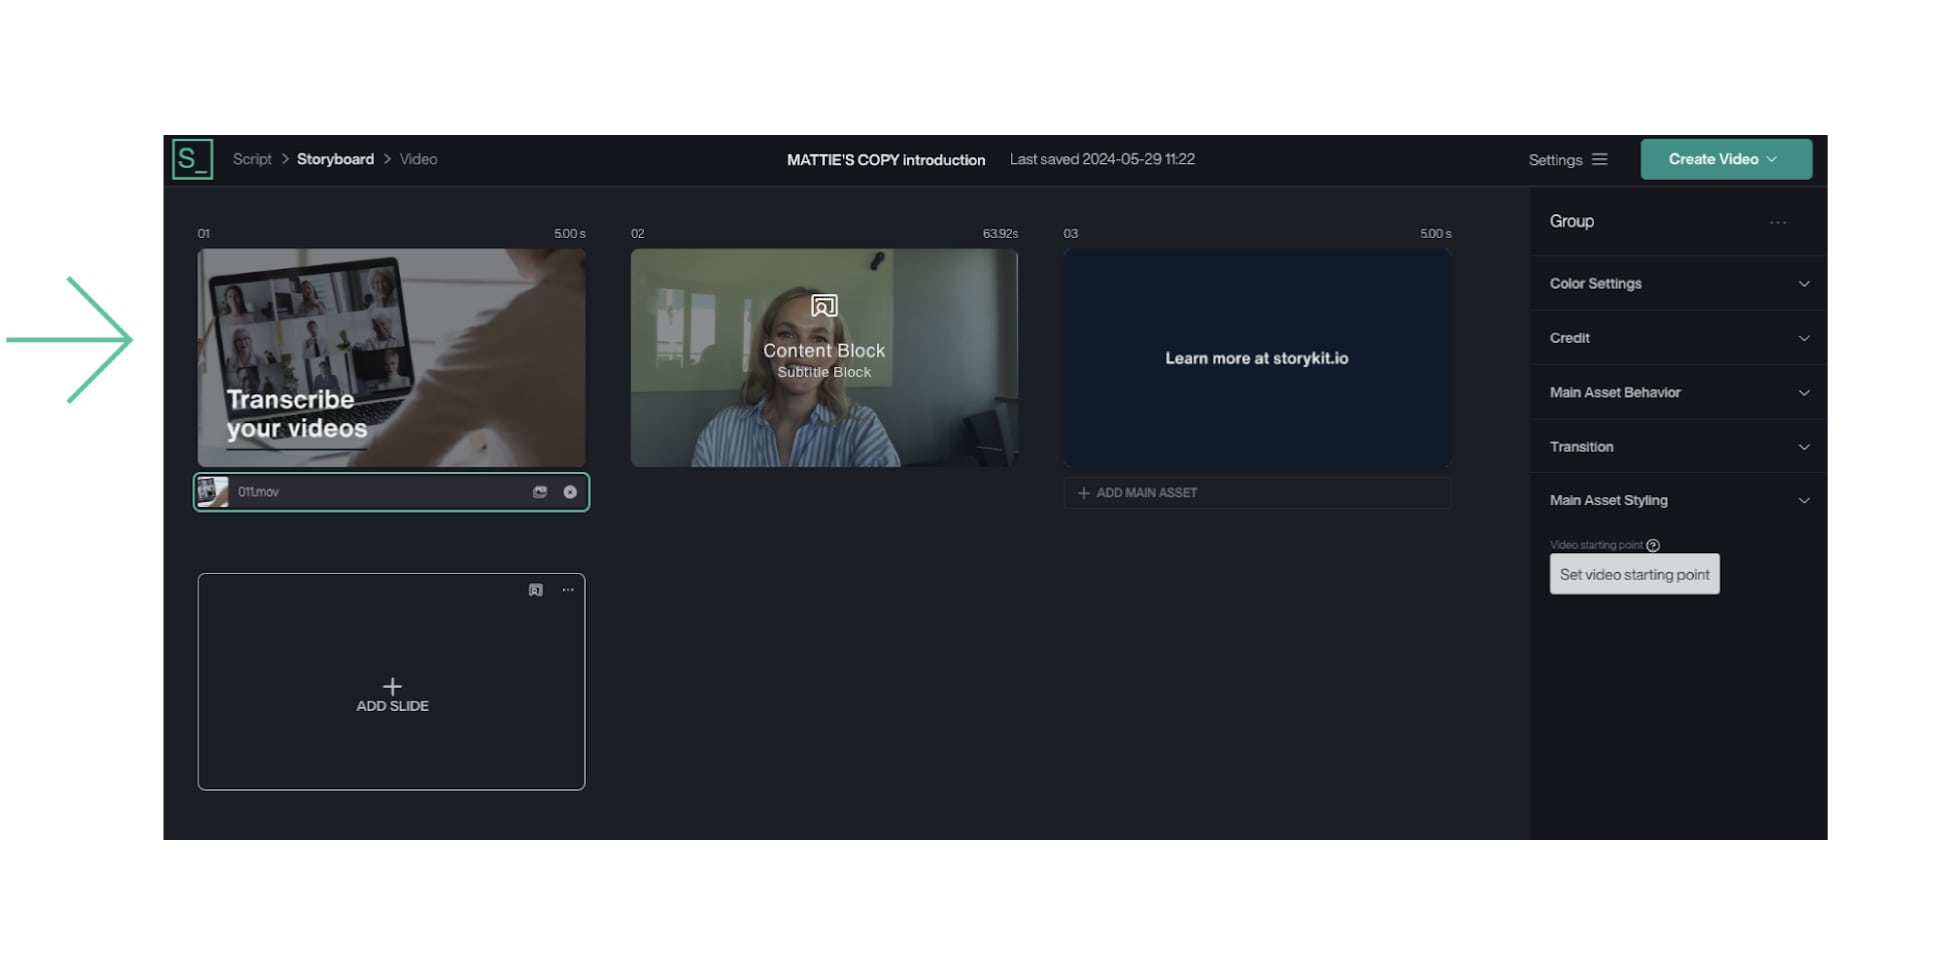
6. Add your talking head clip to your video
With your talking head clip prepared, you're ready to seamlessly integrate it into your video. Whether you're starting with your logo and a catchy tagline, weaving a dynamic long-form narrative, or concluding with a compelling call to action, Storykit offers dynamic ways to craft your complete story.
6. Add some background music
If you want to, you can also add a touch of background music to enhance the mood of your video. Don't worry about the volume—Storykit automatically adjusts it for you, ensuring that the music complements the spoken content without overpowering it.

7. Export your video in the right dimensions and share away
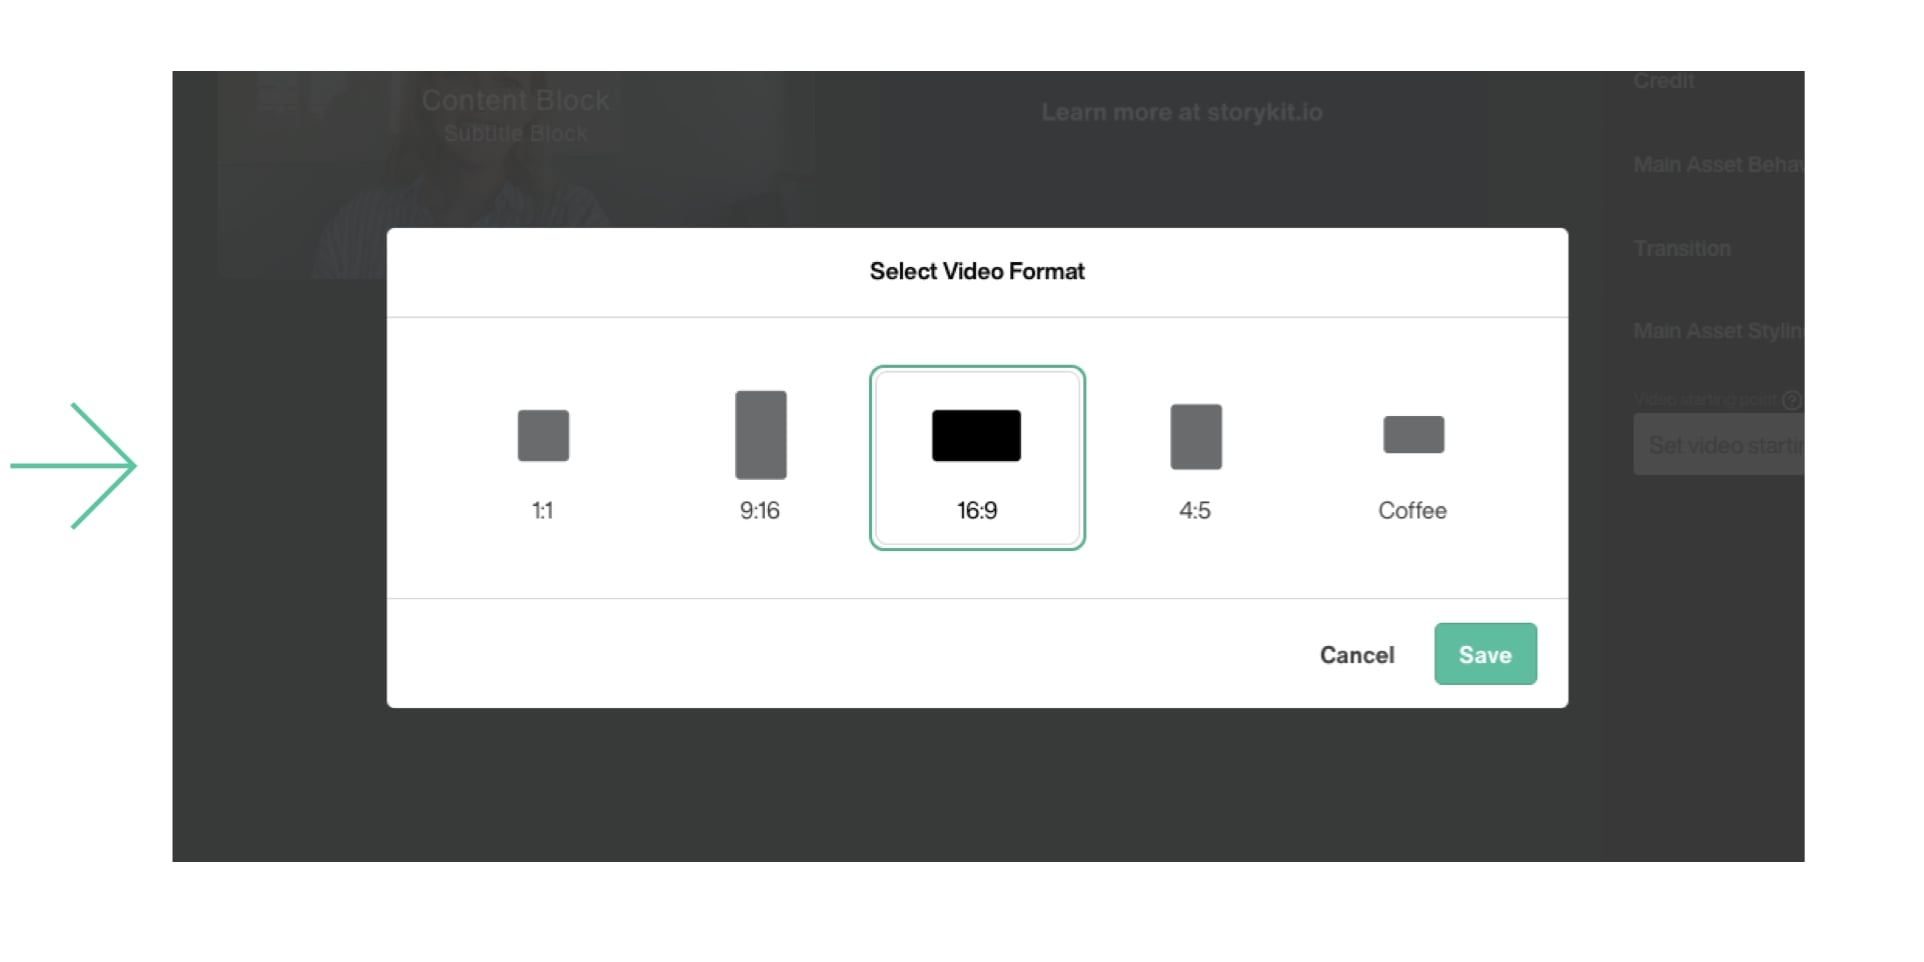
Export your video in the correct dimensions for whichever platform you're using. Whether it's YouTube, Facebook, Instagram, or any other, Storykit makes it easy. There’s no need for additional editing or reformatting. Simply choose your platform, and we handle the rest, ensuring your video looks perfect no matter where it’s viewed.
Start adding talking heads to your videos
Do you have talking head clips ready to share on social media? Don't wait any longer. We're here to help you get started and make the process smooth and simple. Let's bring your content to life.


